Quick Start
This guide will walk you through installing VJSP Assistant, performing basic configuration, and getting up to speed with its core features. From launching VJSP Assistant to using agents for development, you’ll learn how to kick off your first development task within VJSP Assistant.
Supported IDE Versions
- IntelliJ IDEA 2024.3 or later
- VS Code 1.84 or later
Install VJSP Assistant and Complete Initial Setup
- Go to the VJSP AI Studio official website, click the Download button at the top, and follow the instructions to download the installation package locally and install it in your IDE.
- Open a project in your IDE. To better experience VJSP Assistant’s capabilities, we provide source code for various frameworks—visit Code Hub to download and use them.
- Launch VJSP Assistant and follow the on-screen prompts to complete the login process.
Start Development with VJSP Assistant
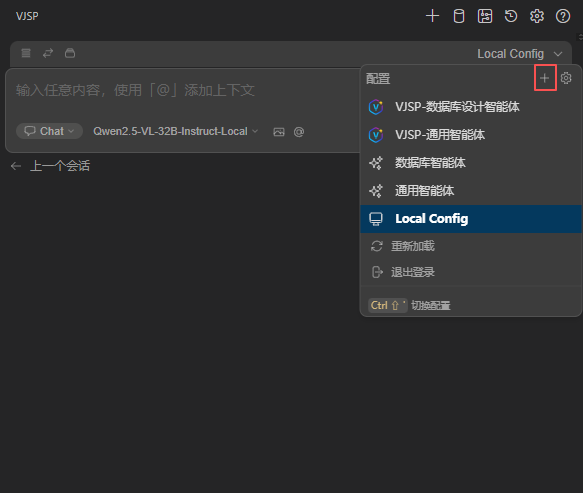
Add an Agent
Agents are programming assistants tailored for different development scenarios. VJSP Assistant offers many ready-to-use agents that you can add from Agent Hub. You can also create custom agents—by flexibly adjusting prompts and toolsets—to help you accomplish complex tasks more efficiently. For details, see Local Agents.

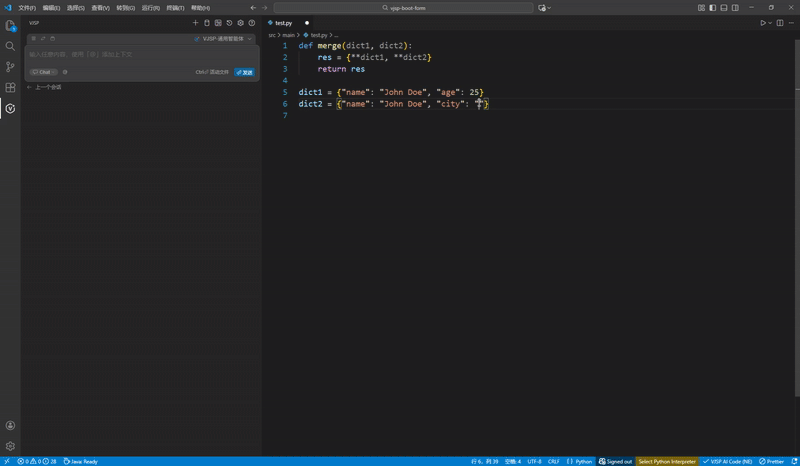
Code Completion
Triggered automatically as you type, or manually force suggestions by pressing Cmd/Ctrl + Alt + Space. Press Tab to accept full completions, Esc to dismiss, or Cmd/Ctrl + → to accept word-by-word partially.
MCP
VJSP Assistant’s MCP (Model Context Protocol) functionality enables seamless integration with external data sources, tools, and services based on the Model Context Protocol, greatly extending the functional boundaries of the AI coding assistant. For more information, refer to MCP.
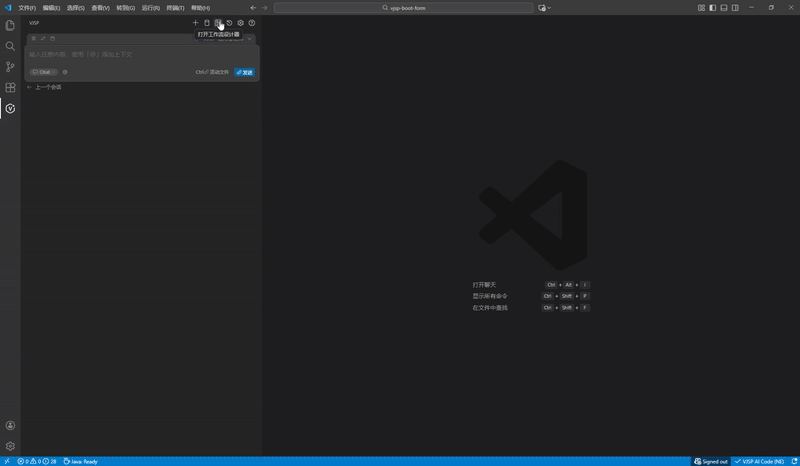
Visual Editing
VJSP Assistant provides three types of visual development capabilities. When combined with framework source code from Code Hub, you can visually fine-tune AI-generated code for greater precision and ease of use:
- Database Table Management: Click the database icon in the top-right corner of the chat window to graphically view or modify table structures (e.g., add fields, indexes, etc.).
- VJSP Form Editor: Right-click a standard form file in the designated directory to open the visual designer. Drag and drop components, adjust layout styles, and set field rules—the changes are automatically written back to the original file.
- Workflow Editor: Click the workflow icon to visually create or modify workflows. Drag nodes to configure approvers, conditional branches, etc.—all modifications are automatically synchronized to the code, achieving “visual design = code generation.”