Process Management
Create, Modify, and Delete Categories
To Create a Category, click to open the workflow designer → right-click on【Process Management】and select【New Category】. A pop-up window will appear where you can choose a parent category, enter a category name, and click【OK】, as shown in the image below: 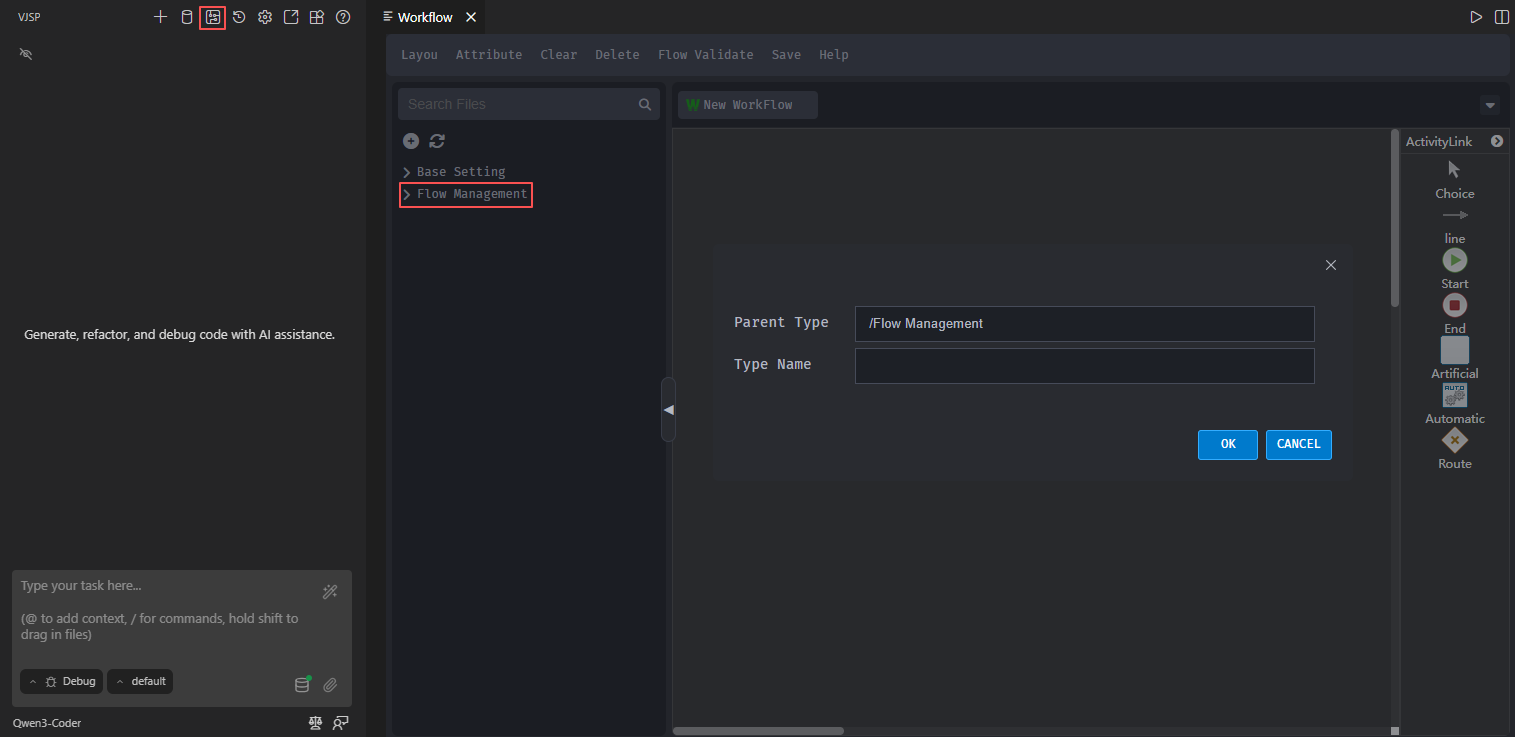
【Note】:【Process Management】only supports creating categories; modify and delete functions are not available.
To Modify a Category, right-click on the category name and choose【Update Category】. Select the parent category and update the category name. To Delete a Category, right-click on the category name, choose【Delete Category】, and click【Yes】 to confirm the deletion, as seen in the picture below: 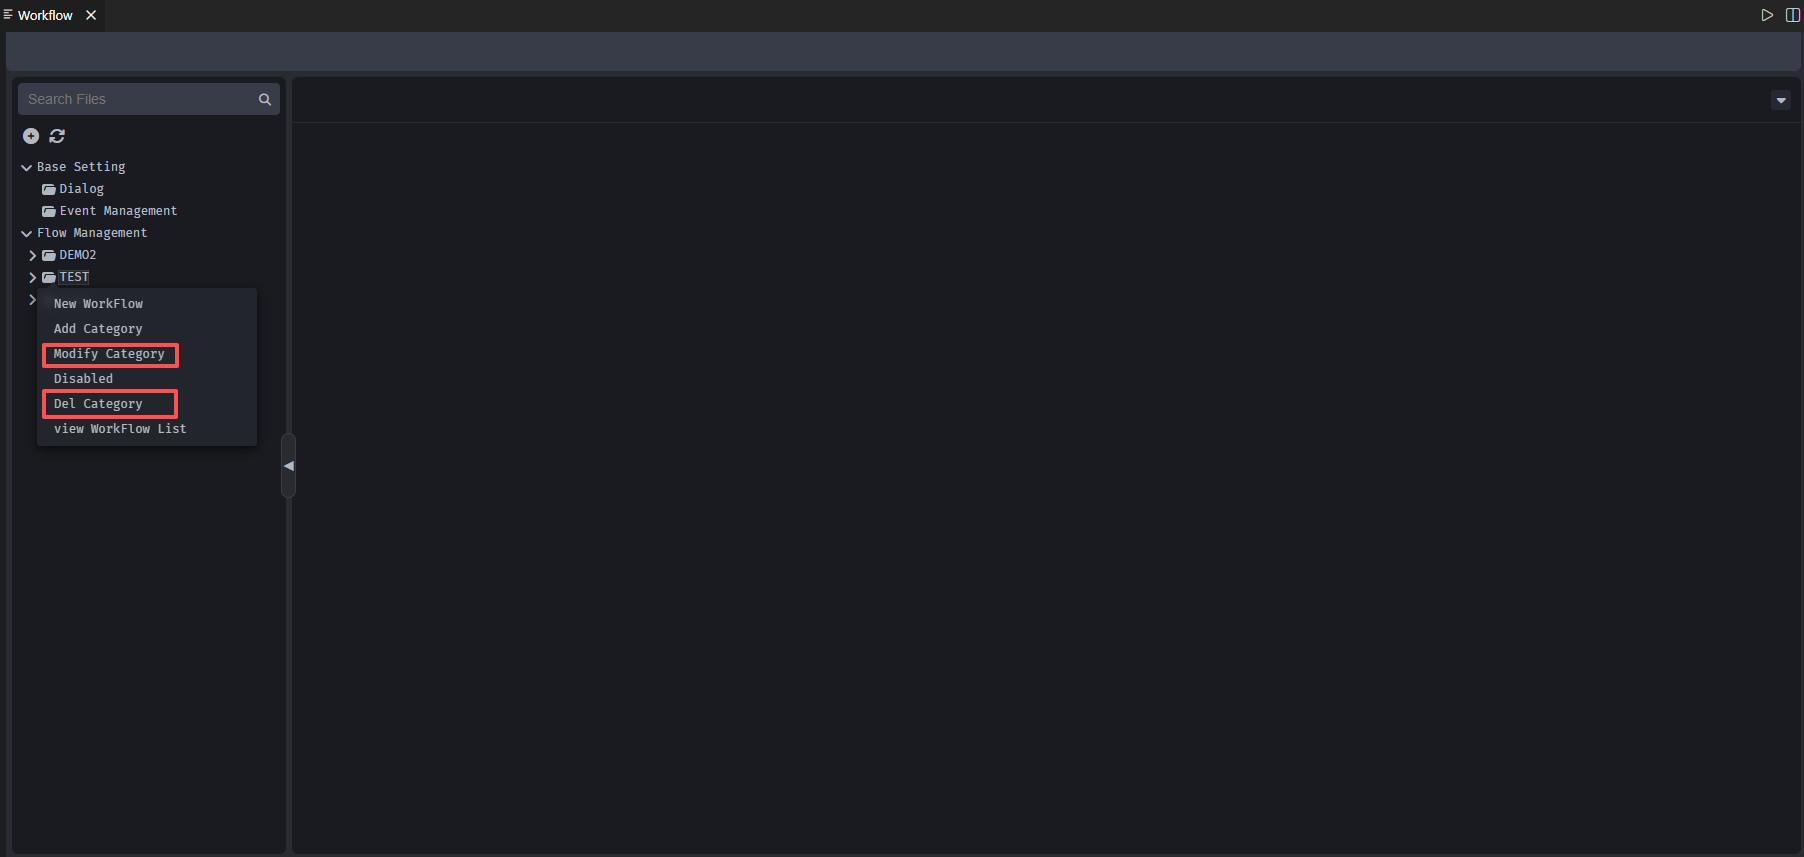
Enable/Disable Categories
When enabled, right-click on the category name, select【Disabled】to disable the category. When disabled, right-click on the category name, select【Enable】to enable it.
View List
To View the List ,you can see the process number, type, and name. You can also manage settings, update, copy process statuses, switch between published/unpublished, enable/disable, and delete functionalities, as shown in the image below: 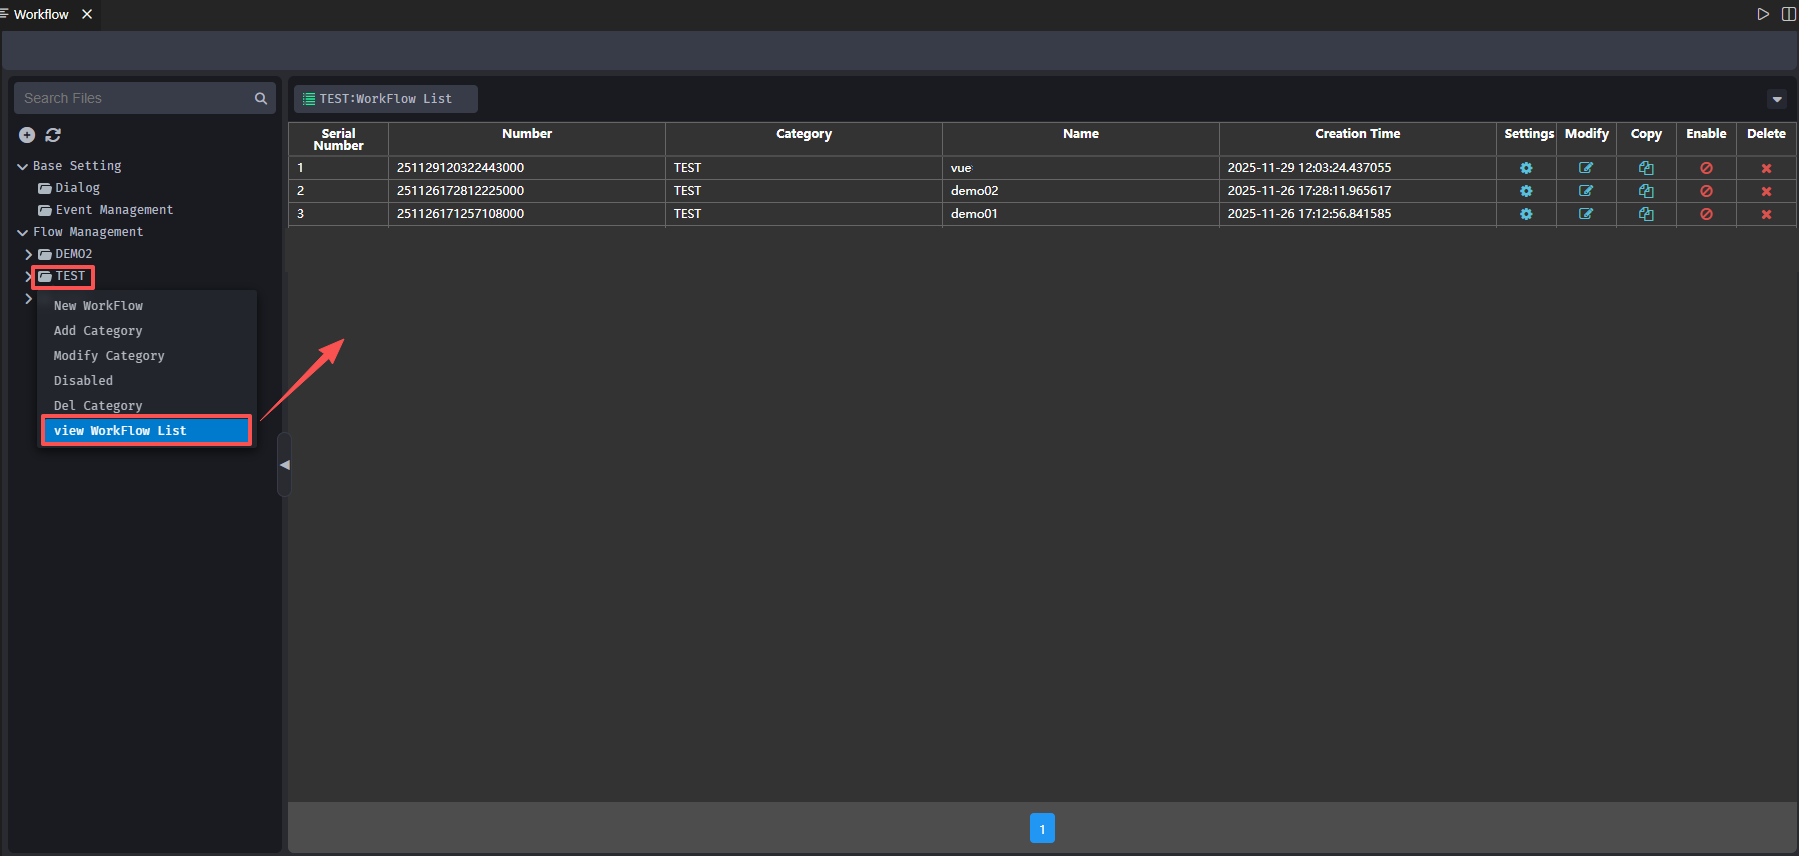
- Settings: Enter the workflow settings page
- Modify: Update workflow name, processing time, category type, and remarks
- Copy: Duplicate the workflow. Allows copying workflows to different category types. Enter new workflow name, category type, and remarks.
- Publish Status: New or modified workflows must be published to be used. Being in the “unpublished” state means workflow is not yet published; click the button to proceed with publishing, changing the state to published.
- Enabled: Published workflows can be linked to a form for use. Workflows in a “disabled” state cannot be used. “Posted” status indicates workflow is enabled; “Disabled” state indicates inactivated, and can be clicked to change its state.
- Delete: Click the delete button next to a workflow to remove it from both system and operation platform.
Workflow Settings
Right-click on the workflow and select【Set】to open the workflow settings page, as shown in the image below: 
Modify Workflow
Right-click on the workflow and choose【Update】to modify the workflow name, category, processing time, and notes, as shown below: 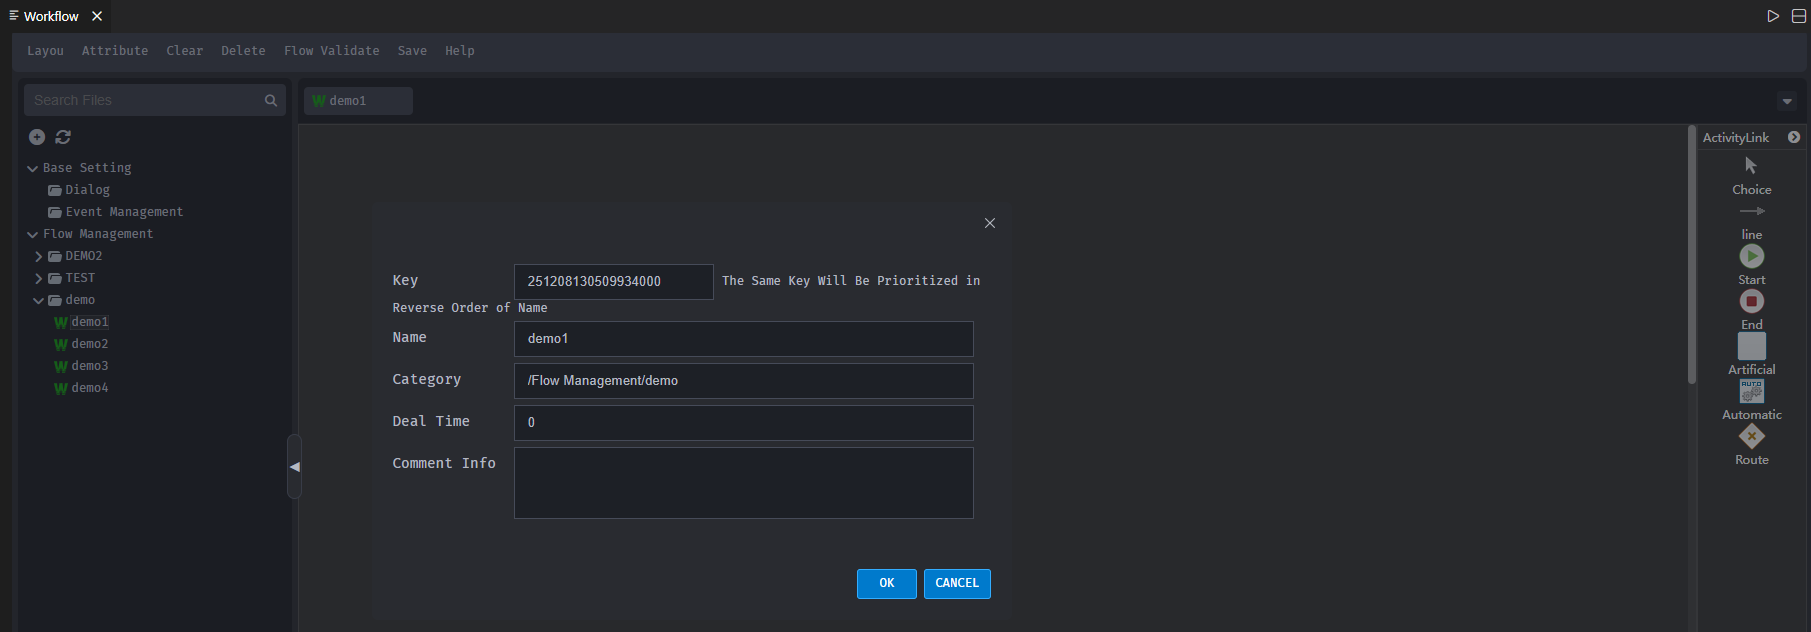
Copy Workflow
Right-click on a workflow and choose【Duplicate】to copy it to another category type. Fill in the new workflow name, category, processing time, and remarks: 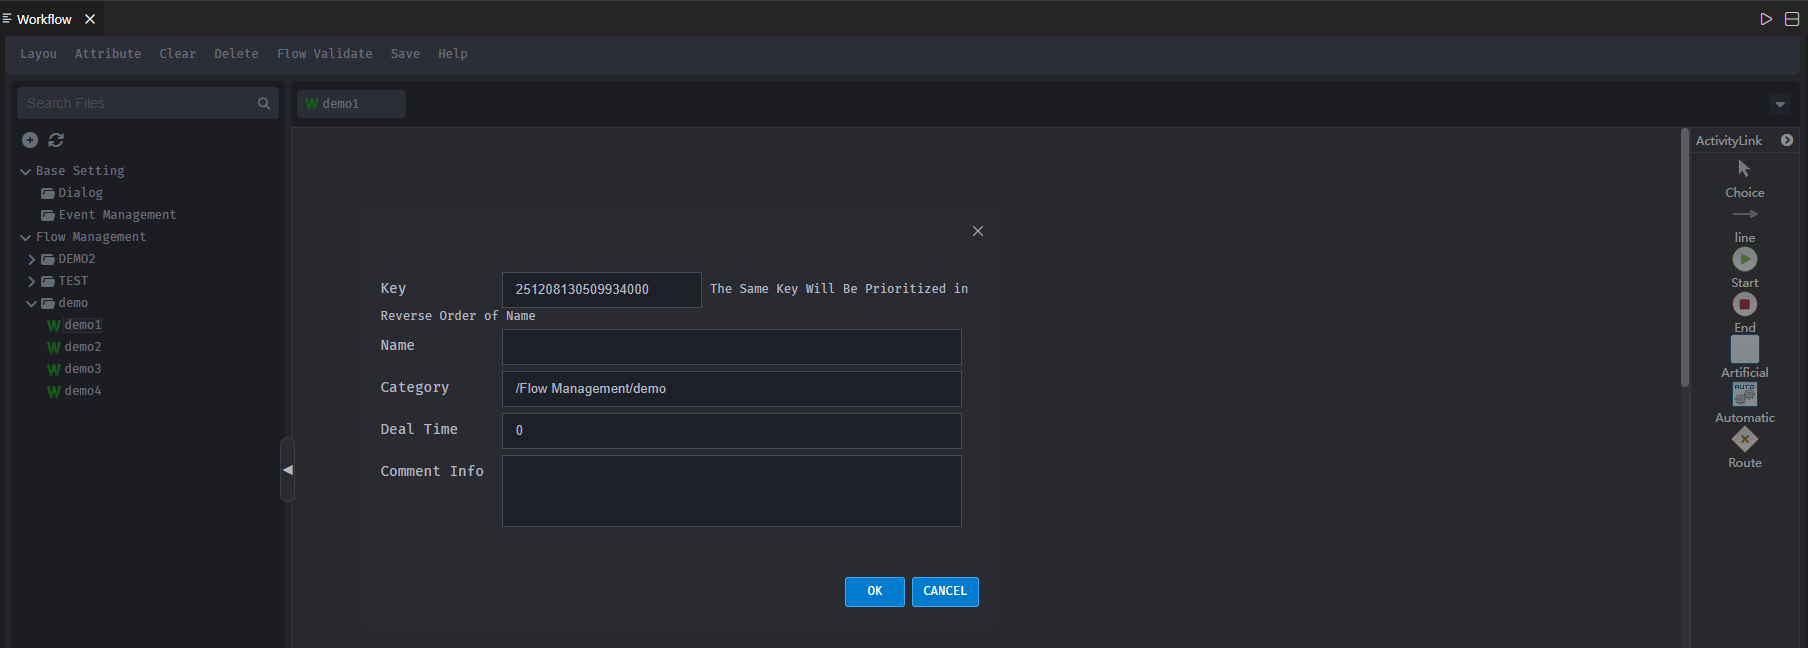
Enable / Disable Workflow
Enabled workflows may be bound to forms.
- Disable: If the workflow is in an “enabled” state, right-click and select【Disabled】to disable the workflow.
- Enable: If the workflow is in a “disabled” state, right-click and select【Enable】to re-enable the workflow.
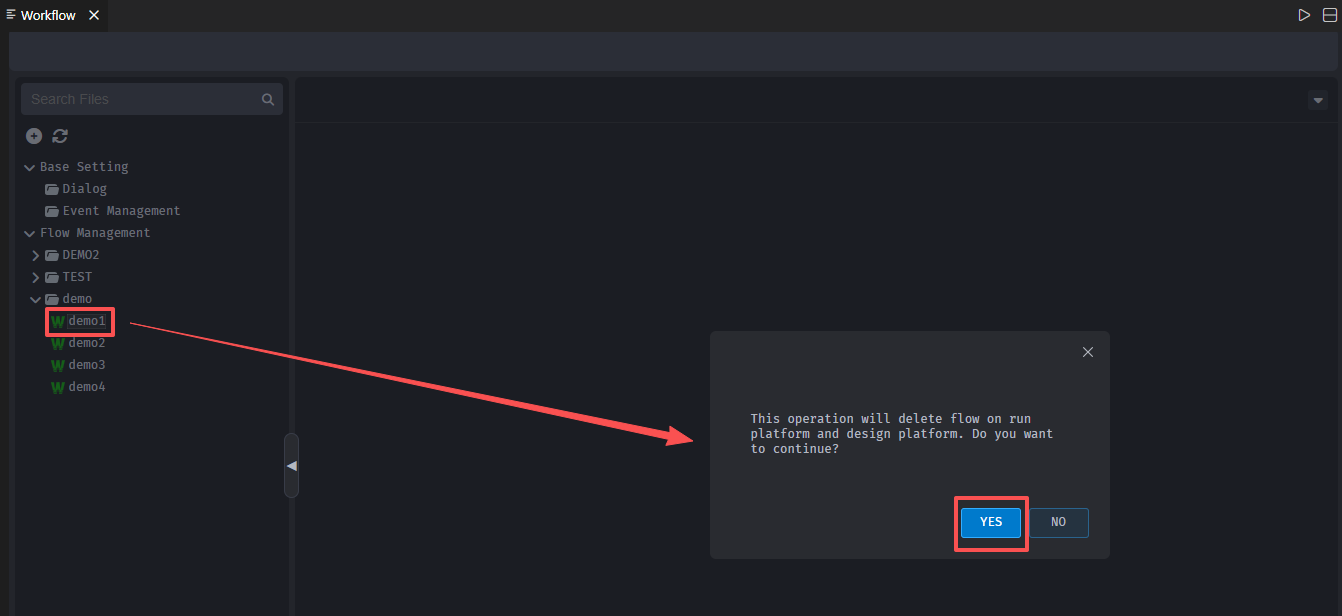
Delete Workflow
Right-click on a workflow and choose【Delete】. Proceed with【Yes】to delete the workflow across system and platform, as depicted in the image below: