Local Development Environment Configuration and VJSP Project Startup Guide
Step 1: Download Basic Project Files
Obtain the basic project file package and extract it to a local directory.
Step 2: Open the Project in VS Code
Launch VSCode, select "File > Open Folder," and choose the extracted project root directory.
Step 3: Environment Dependency Installation
The project requires the following dependency environments. It is recommended to configure them with the specified versions:
JDK 1.8 -17
Maven 3.6 or higher (This guide uses version 3.8.1 as an example)
Database (Choose one: PostgreSQL/MySQL/Da Meng)
Redis Server
Maven Installation Steps
Download the Installation Package
Visit the Maven official website and download the latest version of the binary archive (e.g., apache-maven-3.8.1-bin.zip).
Extract the Files
Extract the archive to a local directory (e.g.,
C:\Apache\maven), ensuring the path contains no Chinese characters, spaces, or special characters.Configure System Variables
Open "Control Panel > System > Advanced system settings > Environment Variables"
In the "System variables" section, click "New" and configure:
Variable name:
MAVEN_HOMEVariable value: The Maven extraction root directory (e.g.,
C:\Apache\maven-3.8.1)
Click "OK" to save.
Add to Path Variable
In "System variables," find the Path variable and click "Edit"
Click "New," enter
%MAVEN_HOME%\bin, and click "OK" to complete the configuration.
Verify Installation
Open Command Prompt (CMD), type
mvn -v. If the Maven version and Java environment information are output, the installation is successful.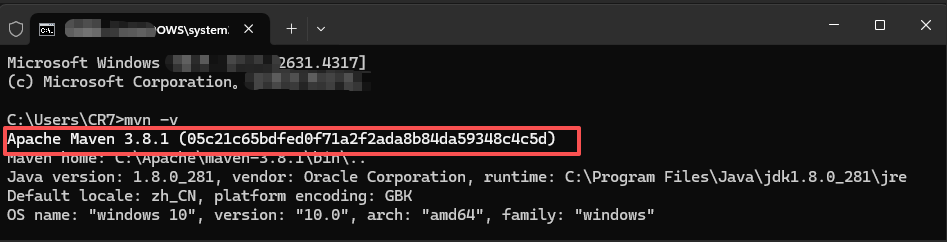
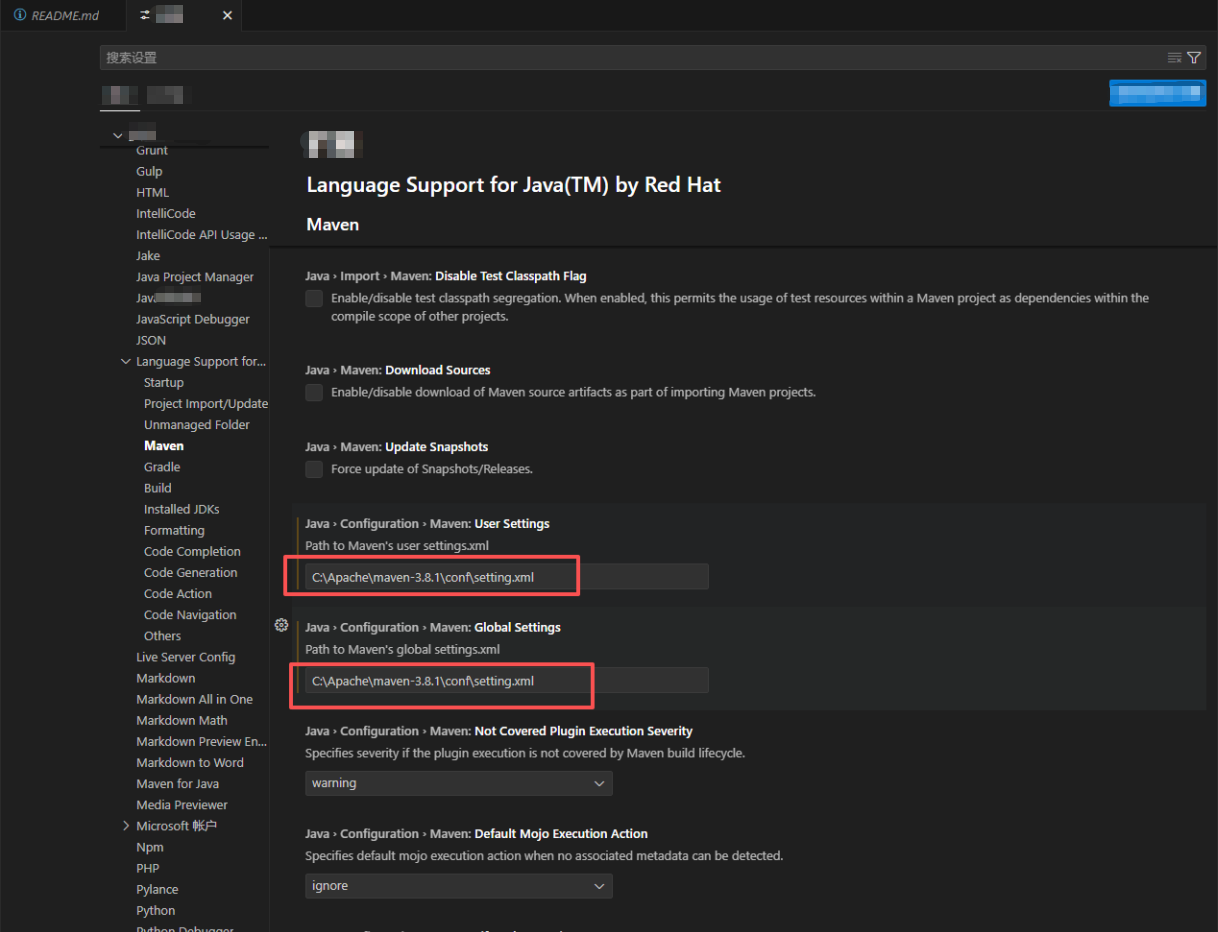
VS Code Configuration
In VSCode, configure the Maven extension path to match the local installation directory.
Environment Variable Check
Step 4: Project Startup Process
Import Local Dependency Packages
Open Command Prompt, navigate to the
libfolder in the project root directory (executecd lib)Run the following command to install the JAR packages into the local Maven repository:
bashmvn install:install-file -Dfile="vjsp-form-3.0-RELEASE.jar" -DpomFile="pom.xml"
In the VSCode "MAVEN" panel, expand vjsp-boot-form > Lifecycle:
First, execute the
cleancommand to clean the projectThen, execute the
installcommand to build the project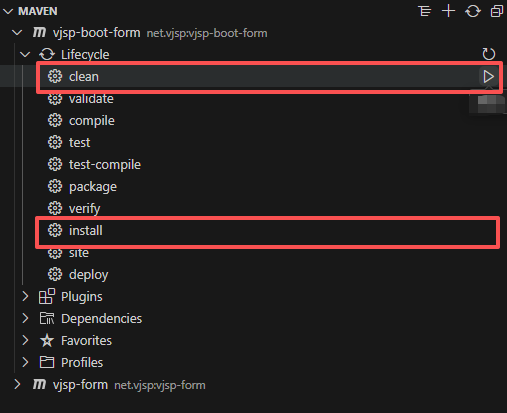
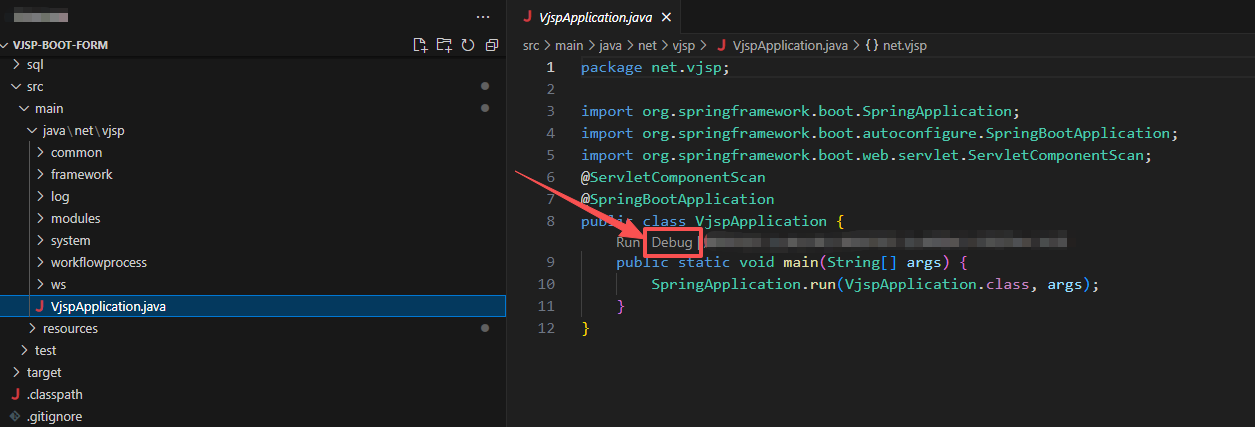
Start the Project
In the project directory, find the startup class:
/src/main/java/net/vjsp/VjspApplication.javaClick the "Debug" button above the file to start the project
After the project starts successfully, you can open a browser and visit
http://localhost:8070/to access the homepage for login. After successful login, the page will look like this: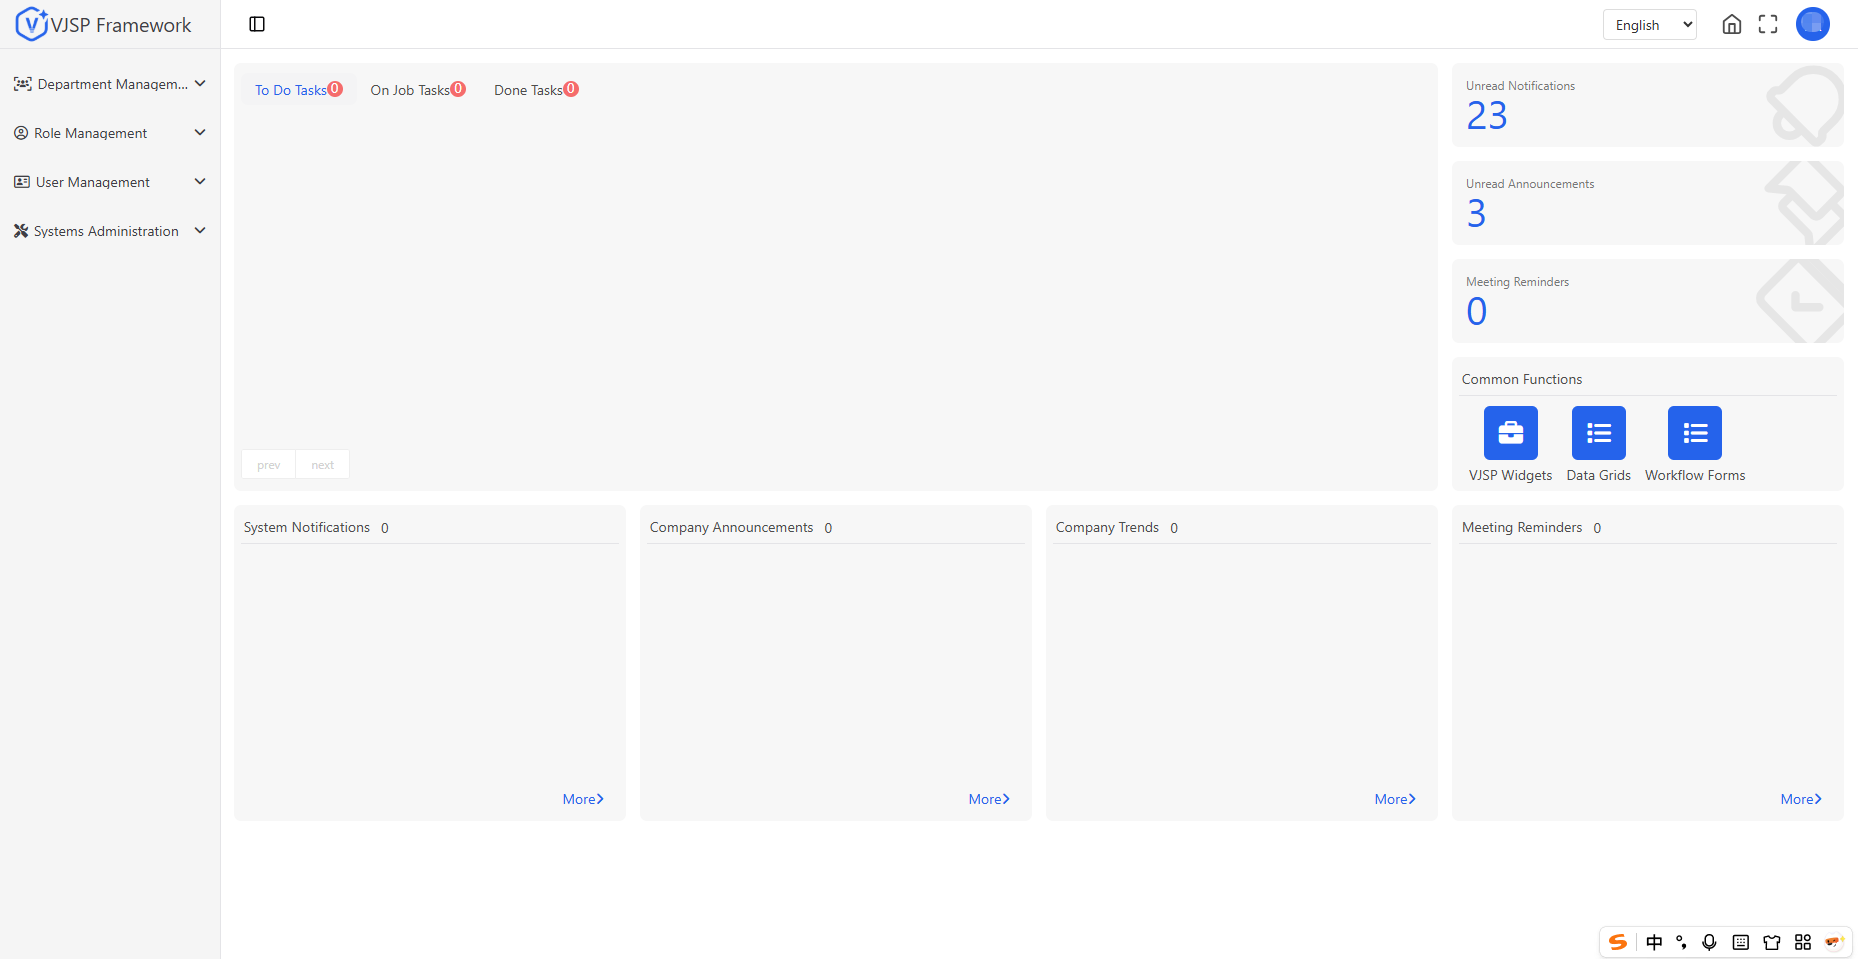
🖥️ Command Line Startup Method
After ensuring all environment variables (such as database connection, API keys, etc.) are correctly configured, you can start the VJSP project using the following Maven commands:
# Clean previous build artifacts
mvn clean

# Compile and install dependencies to the local repository (optional but recommended)
mvn install

# Start the Spring Boot application
mvn spring-boot:run✅ Notes:
- mvn clean: Clears the target/ directory to avoid cache interference.
- mvn install: Compiles the project and installs the artifacts into the local Maven repository, ensuring complete dependencies (especially recommended in multi-module projects).
- mvn spring-boot:run: Runs the application with an embedded server. The default port is usually 8070.
⚠️ Prerequisites:
- JDK 1.8 ~ 17 is installed
- Maven 3.8+ is installed
- pom.xml exists in the project root directory
- Necessary service addresses like databases and Redis are configured in vjspai-link.yml