Installing the VJSP Plugin in IntelliJ IDEA
This guide explains how to install and activate the VJSP plugin in IntelliJ IDEA.
Prerequisites
- Operating System: Windows 10/11, macOS, or UOS
- Development Environment: IntelliJ IDEA 2024.1 or later must be installed
Installing the VJSP Plugin
Installing via Local ZIP Package (Manual Method)
Download the latest VJSP plugin package (in
.zipformat):
⬇ Go to VJSP Download PageLaunch IntelliJ IDEA and open the Plugins Marketplace:
- On Windows/Linux: File > Settings > Plugins
- On macOS: IntelliJ IDEA > Preferences > Plugins
Click the ⚙️ gear icon in the top-right corner of the Plugins panel and select Install Plugin from Disk...
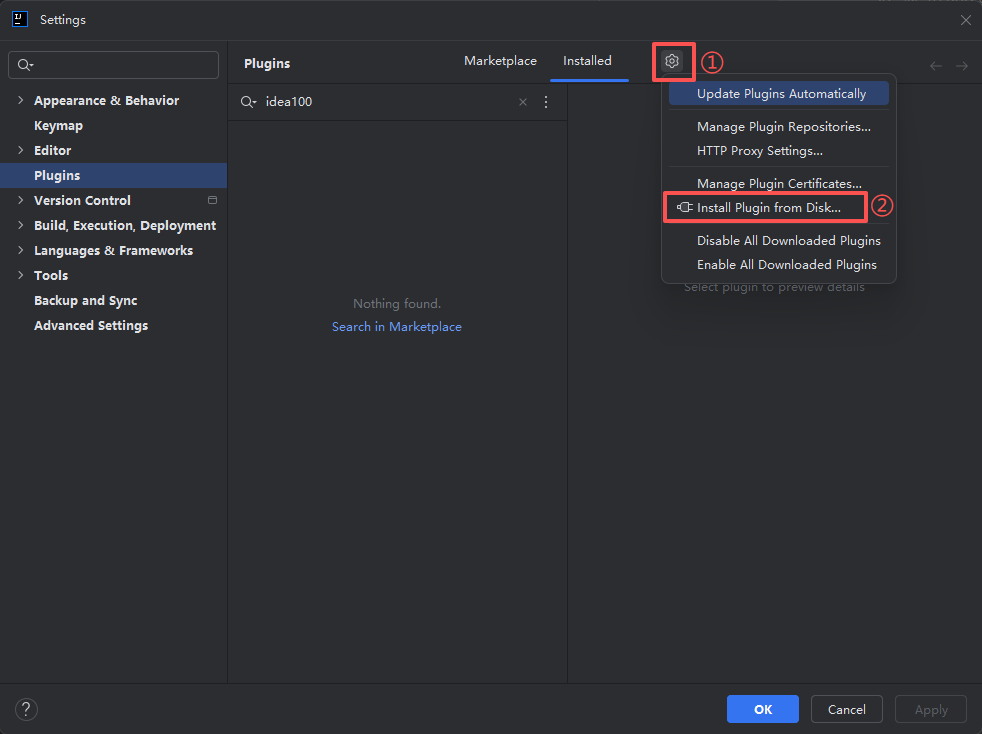
Navigate to and select the downloaded
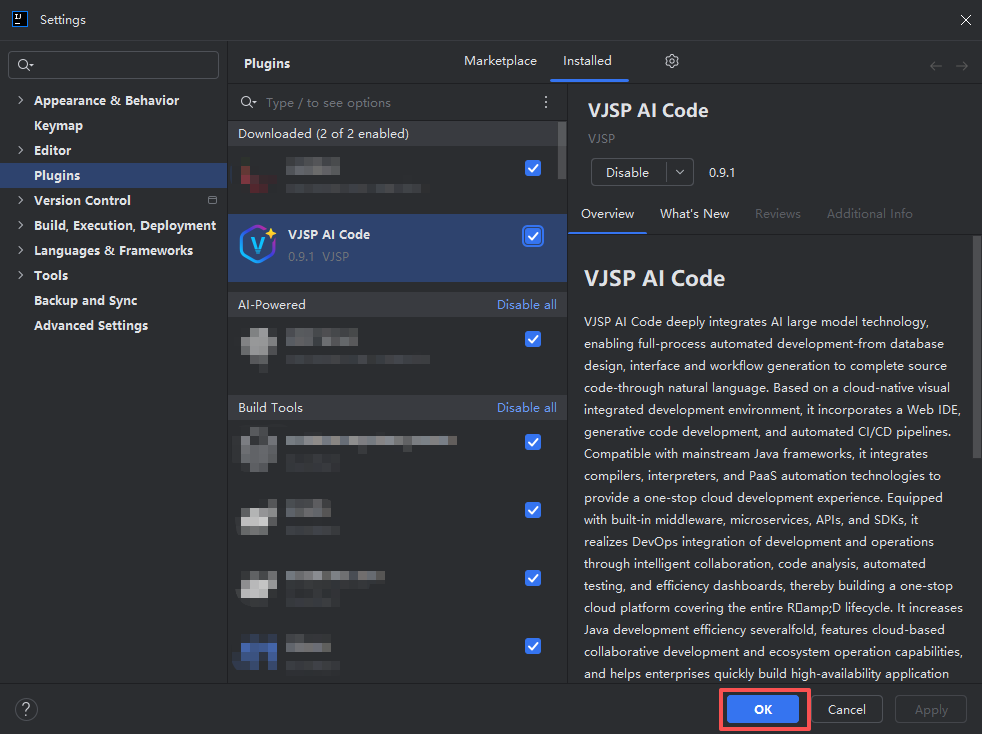
.zipfile, then click OK to begin installation.After installation completes:
- First-time installation: Click OK, then restart the IDE.
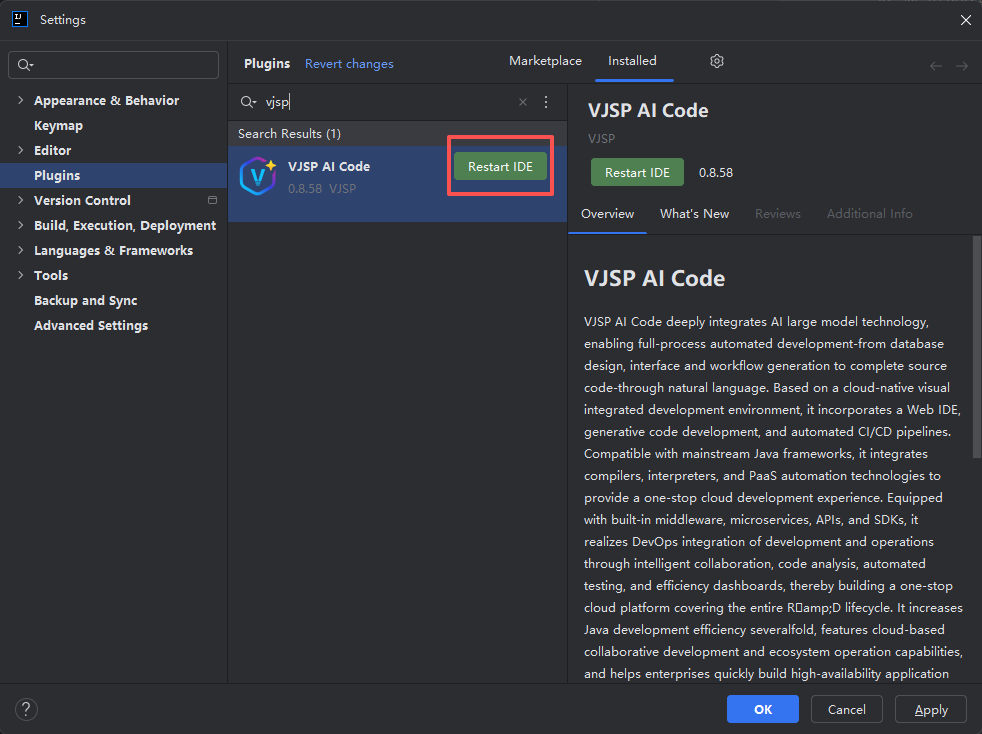
- Plugin update: Click Restart IDE immediately to apply changes.
- First-time installation: Click OK, then restart the IDE.
Logging In and Activating the VJSP Plugin
After installation, you must log in to unlock all AI-powered features.
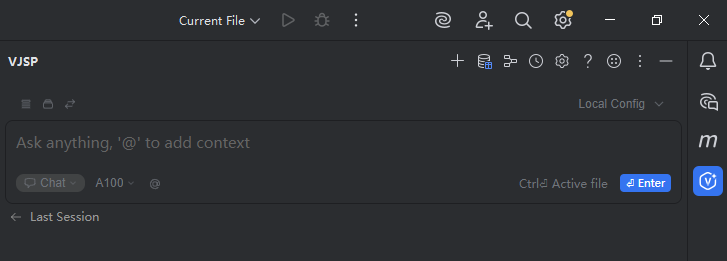
In IntelliJ IDEA, locate the VJSP icon in the right-side toolbar and click it to open the plugin control panel.
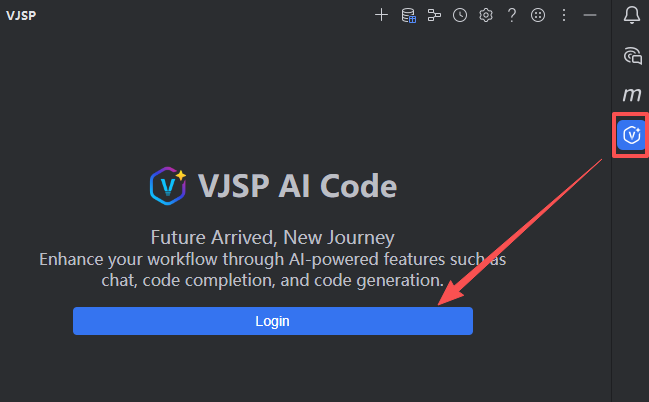
At the top of the panel, click the Log in button to start the authentication process.
Your default web browser will automatically open the VJSP login page.

Complete the login in your browser. You’ll be redirected to an authorization page—click 【Agree】 to grant permissions.

Return to IntelliJ IDEA. The VJSP panel will now display your account information, and all AI features are ready for use.
The plugin is now fully set up—you can begin interacting with VJSP.
Notes
Visual Form Editor Not Responding in IDEA?
If the VJSP visual form editor becomes unresponsive in IntelliJ IDEA, this is often due to compatibility issues between JetBrains’ built-in JCEF (Java Chromium Embedded Framework) and certain system environments when running in “out-of-process” mode. Disabling JCEF’s out-of-process mode typically resolves the issue.
Steps to Configure JCEF
Fully quit IntelliJ IDEA
Ensure all IDEA processes (including background ones) are terminated; otherwise, your configuration changes may be overwritten.Locate the
ide.general.xmlconfiguration file
Replace<Username>,<ToolName>, and<Version>with your actual values (e.g.,IntelliJIdea2024.1):OS File Path Windows C:\Users\<Username>\AppData\Roaming\JetBrains\<ToolName><Version>\options\ide.general.xmlUOS ~/home/vjsp/.config/JetBrains/<ToolName><Version>/options/ide.general.xmlmacOS ~/Library/Application Support/JetBrains/<ToolName><Version>/options/ide.general.xmlModify the JCEF setting
Openide.general.xmlin a text editor and find the<component name="Registry">section.If JCEF is already configured:
If you see:xml<entry key="ide.browser.jcef.enabled" value="true" />Add or replace it with:
xml<entry key="ide.browser.jcef.out-of-process.enabled" value="false" source="SYSTEM" />If no JCEF entry exists:
Insert the following line anywhere inside the<component name="Registry">block:xml<entry key="ide.browser.jcef.out-of-process.enabled" value="false" source="SYSTEM" />
✅ Example final configuration:
xml<component name="Registry"> <entry key="moved.to.new.ui" value="true" source="SYSTEM" /> <entry key="ide.experimental.ui" value="true" source="SYSTEM" /> <entry key="jvm.dfa.analysis.ui.security.analysis.window.was.shown" value="true" source="SYSTEM" /> <entry key="ide.browser.jcef.debug.port" value="9222" source="USER" /> <!-- Other existing entries... --> <!-- Added/modified entry --> <entry key="ide.browser.jcef.out-of-process.enabled" value="false" source="SYSTEM" /> </component>Restart IDEA and verify
- Save and close
ide.general.xml. - Relaunch IntelliJ IDEA.
- Open a VJSP form file, right-click, and select “VJSP Edit Mode” to confirm the visual designer loads and responds correctly.
- Save and close